


Hey there! I'm a supplier of PVC ceiling panel sheets, and I know how frustrating it can be when one of those panels gets damaged. But don't worry, because in this blog, I'm gonna walk you through the process of repairing a damaged PVC ceiling panel sheet.
Step 1: Assess the Damage
The first thing you need to do is take a good look at the damaged panel. Figure out how bad the damage is. Is it just a small scratch, a crack, or a big hole? This will help you decide what kind of repair method to use.

If it's a minor scratch, you might be able to fix it with some simple sanding and polishing. But if there's a crack or a hole, you'll need to take more steps.
Step 2: Gather Your Tools
Once you've assessed the damage, it's time to gather the tools you'll need. Here's a list of the basic tools:
- Measuring tape: To measure the size of the damaged area.
- Utility knife: For cutting the replacement piece.
- Sandpaper: To smooth the edges of the damaged area and the replacement piece.
- Adhesive: To bond the replacement piece to the existing panel.
- Clamps: To hold the replacement piece in place while the adhesive dries.
Step 3: Cut the Replacement Piece
If the damage is significant, you'll need to cut a replacement piece. Measure the size of the damaged area carefully and then use your utility knife to cut a piece of PVC ceiling panel sheet that matches the size and shape. Make sure to cut it a little bigger than the damaged area to ensure a good fit.
Step 4: Prepare the Damaged Area
Before you attach the replacement piece, you need to prepare the damaged area. Use sandpaper to smooth the edges of the damaged area. This will help the replacement piece adhere better. Also, clean the area to remove any dust or debris.
Step 5: Apply the Adhesive
Now it's time to apply the adhesive. Follow the instructions on the adhesive package. Usually, you'll need to apply a thin layer of adhesive to both the back of the replacement piece and the damaged area. Make sure to spread the adhesive evenly.
Step 6: Attach the Replacement Piece
Carefully place the replacement piece over the damaged area. Press it down firmly to ensure good contact with the adhesive. Use clamps to hold the replacement piece in place while the adhesive dries. Let the adhesive dry for the recommended time, which is usually a few hours.
Step 7: Sand and Finish
Once the adhesive is dry, remove the clamps. Use sandpaper to smooth the edges of the replacement piece so that it blends in with the rest of the panel. You can also use a PVC filler to fill in any small gaps or imperfections. After that, you can paint the repaired area to match the color of the rest of the ceiling.
Other Products You Might Be Interested In
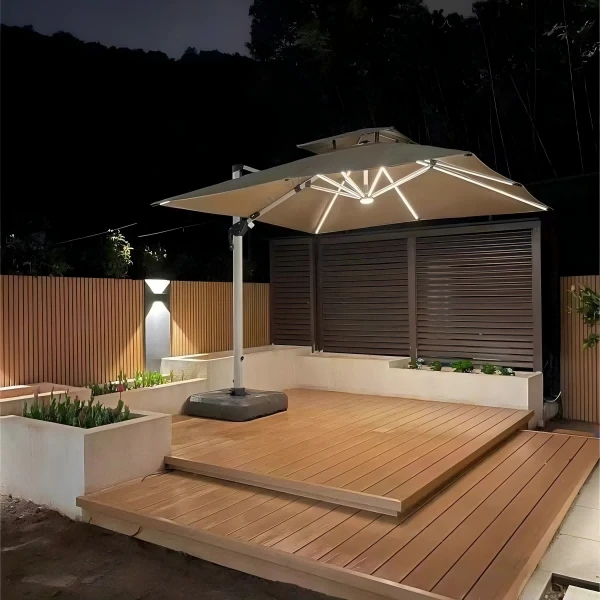
As a PVC ceiling panel sheet supplier, I also offer other great products. For example, we have Wpc Decking Wood Grain, which looks just like real wood but is more durable and easier to maintain. It's perfect for both indoor and outdoor use.
We also have Outdoor Wpc Decking, which is specifically designed for outdoor spaces. It can withstand different weather conditions and is very resistant to scratches and stains.
And if you're looking for a way to partition a space, our WPC Board Partition is a great option. It's easy to install and can add a stylish touch to any room.
Contact Us for Purchase
If you're interested in our PVC ceiling panel sheets or any of our other products, don't hesitate to reach out. We're always happy to help you with your purchase and answer any questions you might have. Whether you're a homeowner looking to renovate your ceiling or a contractor working on a big project, we've got the right products for you.
References
- PVC Ceiling Panel Installation Guide
- DIY Home Repair Handbook
So, that's how you repair a damaged PVC ceiling panel sheet. I hope this blog has been helpful to you. If you have any other questions or need more advice, feel free to ask.


