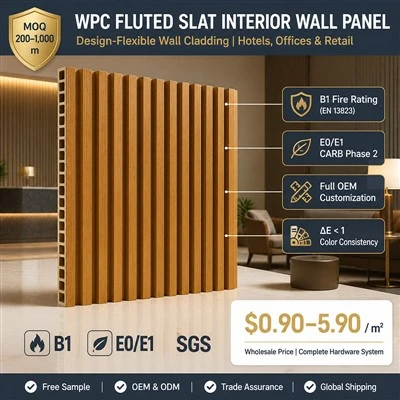
The installation time for WPC (Wood Plastic Composite) outdoor wall panels can vary significantly based on a multitude of factors. As a supplier of WPC Outdoor Wall Panels, I've witnessed firsthand how different scenarios can impact the overall installation timeline. In this blog post, I'll delve into the key elements that influence the installation time and provide you with a better understanding of what to expect when working with these versatile panels.
Factors Affecting Installation Time
Panel Size and Design
The size and design of the WPC outdoor wall panels play a crucial role in determining the installation time. Larger panels generally cover more surface area with each piece, which can reduce the number of individual installations required. However, they may also be heavier and more challenging to handle, potentially slowing down the process. On the other hand, smaller panels offer more flexibility in terms of installation, especially around corners and irregular shapes, but they require more pieces to cover the same area, which can increase the overall time.
For instance, if you're using standard-sized WPC Decorative Wall Panels, which are typically around 1200mm x 200mm, the installation may be relatively straightforward. These panels are easy to cut and fit, making them suitable for both DIY projects and professional installations. However, if you opt for custom-sized panels or those with intricate designs, the installation process may take longer due to the additional cutting and fitting required.
Surface Preparation
Proper surface preparation is essential for a successful and long-lasting installation of WPC outdoor wall panels. The condition of the wall surface, whether it's smooth, uneven, or has existing coatings, can significantly impact the installation time.
If the wall is in good condition and relatively smooth, the preparation process may be as simple as cleaning the surface and ensuring it's free of dust, dirt, and debris. This can typically be completed within a few hours, depending on the size of the area. However, if the wall is uneven or has significant damage, additional steps may be required, such as sanding, filling, or leveling. These tasks can take several days to complete, especially for larger projects.
In some cases, you may also need to install a furring strip system to create a level surface for the panels. This involves attaching wooden or metal strips to the wall at regular intervals, which can add an additional day or two to the installation timeline.
Installation Method
There are several different installation methods available for WPC outdoor wall panels, each with its own advantages and disadvantages. The method you choose can have a significant impact on the installation time.

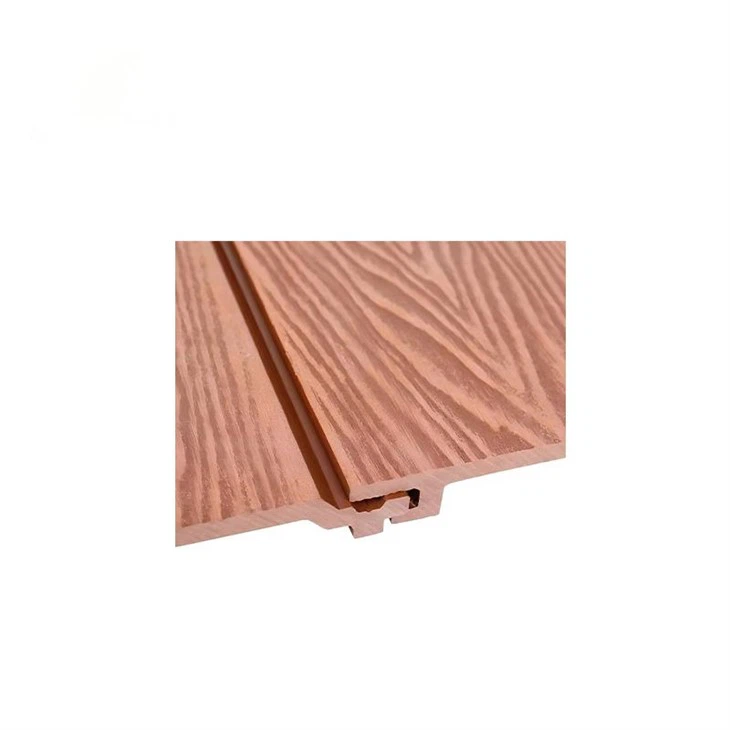
One of the most common installation methods is the tongue-and-groove system. This involves interlocking the panels together using a tongue on one side and a groove on the other. This method is relatively quick and easy to install, especially for DIY enthusiasts. However, it requires precise measurements and careful alignment to ensure a tight fit.
Another popular method is the clip system, which involves using special clips to attach the panels to the wall. This method is faster than the tongue-and-groove system and allows for easier removal and replacement of individual panels if needed. However, it may require more specialized tools and a higher level of skill to install correctly.
The adhesive method is also an option, especially for smaller projects or areas where a more seamless look is desired. This involves applying a strong adhesive to the back of the panels and pressing them firmly onto the wall. While this method can be relatively quick, it requires careful preparation of the surface and the adhesive to ensure a strong bond.
Project Complexity
The complexity of the project, including the size of the area, the presence of obstacles, and the need for customizations, can also have a significant impact on the installation time.
For smaller projects, such as a single wall or a small outdoor shed, the installation can typically be completed within a day or two. However, for larger projects, such as a multi-story building or a commercial property, the installation may take several weeks or even months to complete.
Obstacles such as windows, doors, and electrical outlets can also add to the installation time, as they require careful cutting and fitting of the panels around these areas. Additionally, if you require customizations such as curved panels or unique designs, the installation process may take longer due to the additional fabrication and fitting required.
Average Installation Time Estimates
Based on my experience as a WPC Outdoor Wall Panels supplier, I've compiled the following average installation time estimates for different types of projects:
- Small DIY Project (up to 10 square meters): 1 - 2 days
- Medium-Sized Project (10 - 50 square meters): 2 - 5 days
- Large Project (50 - 100 square meters): 5 - 10 days
- Commercial Project (over 100 square meters): 10+ days
It's important to note that these are just estimates and the actual installation time may vary depending on the factors discussed above. It's always a good idea to consult with a professional installer or contractor to get a more accurate estimate for your specific project.
Tips for Reducing Installation Time
If you're looking to reduce the installation time for your WPC outdoor wall panels, here are a few tips to keep in mind:
- Plan Ahead: Before starting the installation, take the time to carefully plan the project. This includes measuring the area, selecting the appropriate panels and installation method, and gathering all the necessary tools and materials. A well-planned project can help minimize delays and ensure a smooth installation process.
- Prepare the Surface Properly: As mentioned earlier, proper surface preparation is essential for a successful installation. Make sure the wall is clean, dry, and level before starting the installation. This will help ensure a tight fit and reduce the risk of issues such as gaps or unevenness.
- Use the Right Tools: Using the right tools for the job can make a big difference in the installation time. Make sure you have all the necessary tools, such as a saw, drill, measuring tape, and level, before starting the installation. Using high-quality tools can also help ensure a more precise and professional-looking installation.
- Work with a Professional: If you're not experienced with installing WPC outdoor wall panels, it's a good idea to work with a professional installer or contractor. They have the skills, experience, and tools necessary to complete the installation quickly and efficiently. They can also provide valuable advice and guidance throughout the process.
Conclusion
The installation time for WPC outdoor wall panels can vary depending on a variety of factors, including panel size and design, surface preparation, installation method, and project complexity. By understanding these factors and taking the necessary steps to plan and prepare for the installation, you can help ensure a smooth and efficient process.
If you're interested in purchasing WPC Panel Wood or Wpc Wood Plastic Composite for your next project, please don't hesitate to contact us. Our team of experts is here to help you choose the right panels and provide you with all the information and support you need to ensure a successful installation. We look forward to working with you!
References
- "Wood Plastic Composite (WPC) Decking and Cladding: A Guide to Installation." Forest Products Laboratory, U.S. Department of Agriculture.
- "WPC Wall Panels Installation Manual." Manufacturer's Guide.